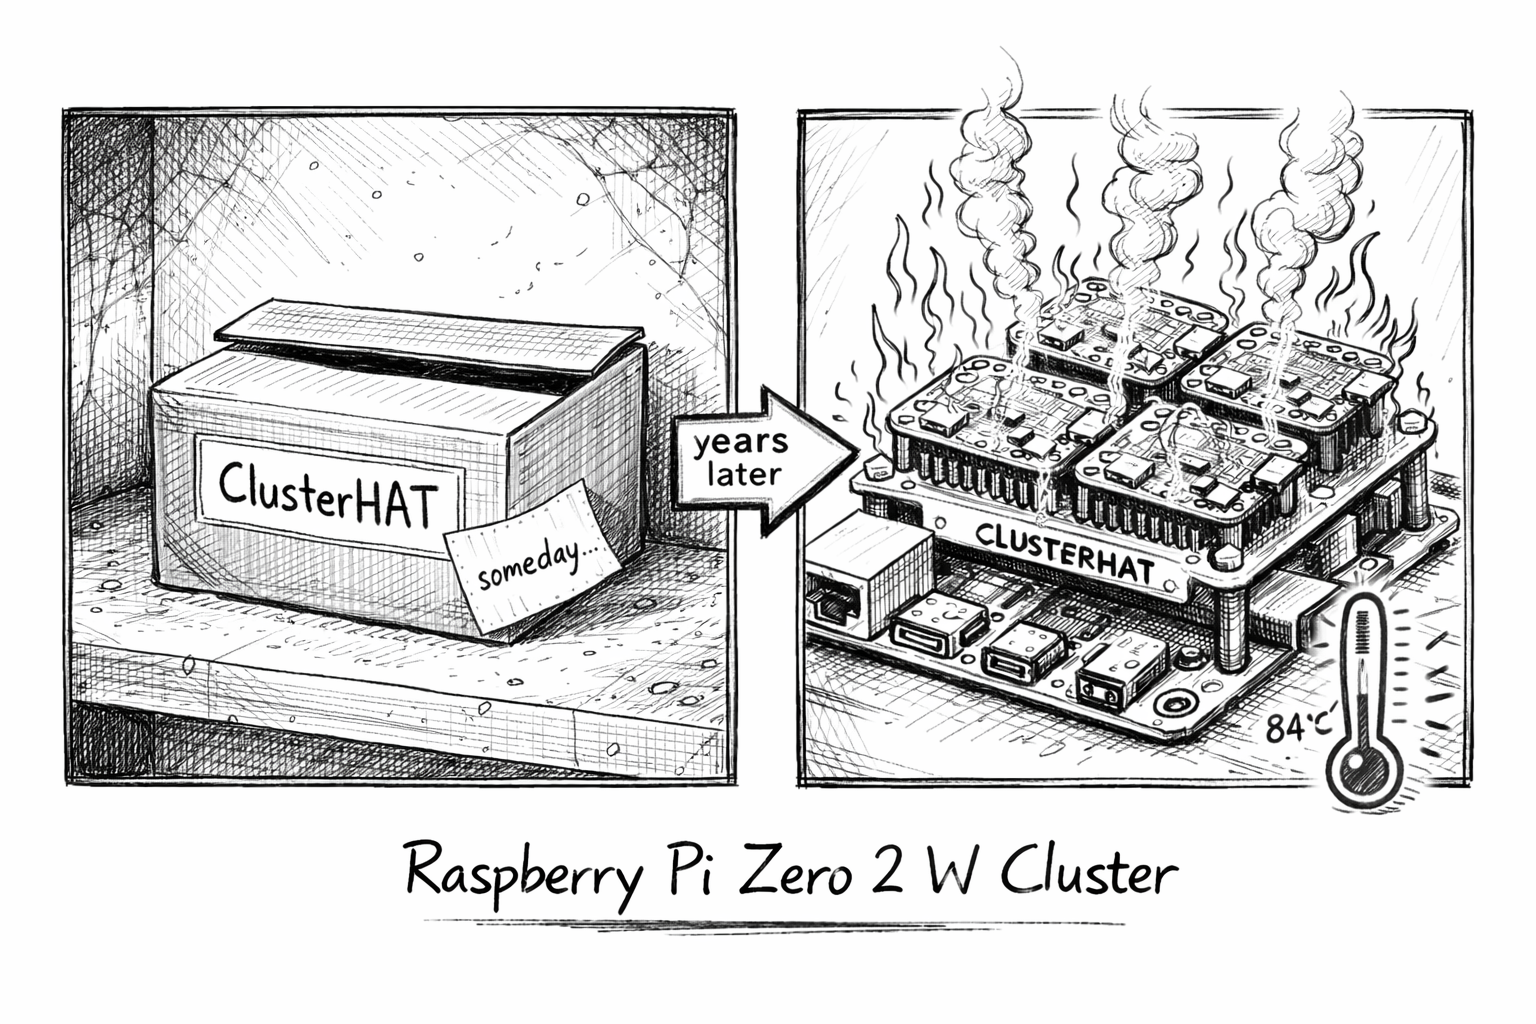
A few years ago some friends gifted me a cool gadget: a ClusterHAT. Back then it was almost impossible to find a full set of Raspberry Pi Zeros to bring the cluster to capacity. After sitting in a dusty box for several years, I was finally able to grab four Pi Zero 2 W boards to complete the setup.
The ClusterHAT is a "Hardware Attached on Top" that connects up to four Raspberry Pi Zero boards to a single Raspberry Pi, forming a small ARM cluster. This article is a practical logbook of the full setup — from flashing images to running Kubernetes workloads.
The Hardware Setup
- Raspberry Pi 4 Model B (2018) — Host / control-plane
- Raspberry Pi Zero 2 W × 4 (2024) — Worker nodes
Preparation
We use Debian Bookworm (64-bit) for the host Raspberry Pi and the Pi Zero images from "Setting up the software".
Grab the Raspberry Pi Imager and flash the host and the four Pi Zero 2 W boards with the 64/32-bit OS downloaded from that page.
(Optional) Check the image before flashing
xz -d 2024-07-04-3-bookworm-ClusterCTRL-arm64-lite-CNAT.img.xz
The build scripts are available at burtyb/clusterhat-image.
Preparing the Host
Check the status of the ClusterHAT:
clusterctrl status
Configure static IPs for the nodes by editing /etc/hosts:
```etc/hosts
cluster control-plane on the external bridge
172.19.180.254 cnat cnat.local
internal ClusterHAT node network (brint)
172.19.181.1 p1 172.19.181.2 p2 172.19.181.3 p3 172.19.181.4 p4
Check the USB gadget configuration:

```sh
lsusb -t
Preparing a Node
Power on a single node and SSH in:
clusterctrl on p1
ssh -i .ssh/id_ctrl_ed25519 pi@p1
Wait for the node to boot and verify its network interface:
ifconfig ethpi1
Repeat this for the other nodes (p2, p3, p4).
Or, if you are optimistic, you can start them all at once:
clusterctrl on
Running a Node in NFS Mode
Get the usbboot image for node p2:
wget https://dist1.8086.net/clusterctrl/usbboot/bookworm/2024-07-04/2024-07-04-3-bookworm-ClusterCTRL-armhf-lite-usbboot.tar.xz
Extract it into the shared NFS folder:
sudo tar -axf 2024-07-04-3-bookworm-ClusterCTRL-armhf-lite-usbboot.tar.xz -C /var/lib/clusterctrl/nfs/p2/
Watch the boot logs:
journalctl -f -n10
Hopping onto a node
When SSH is not yet available, the serial console is the escape hatch:
screen /dev/ttyACM0 115200
Running a K3s Cluster on ClusterHAT
Our work is heavily based on the following resources:
- K8s on Raspberry Pi and ClusterHAT
aveiga/rpizero-k3s-cluster- Step-By-Step Guide: Installing K3s on a Raspberry Pi 4 Cluster
Installing the Control Plane
On the host node (cnat), bootstrap the K3s server:
curl -sfL https://get.k3s.io | INSTALL_K3S_EXEC="server --disable=traefik --tls-san=172.19.180.254 --bind-address=172.19.180.254 --advertise-address=172.19.180.254 --node-ip=172.19.180.254 --cluster-init" sh -s -
This will create a k3s control plane. Find the token to join the worker nodes:
sudo cat /var/lib/rancher/k3s/server/node-token
Joining the Worker Nodes
On each worker node (p1–p4), run the K3s agent installer:
curl -sfL https://get.k3s.io | K3S_URL=https://cnat:6443 \
  K3S_TOKEN="<replace with your token>" sh -
The nodes didn't automagically work out of the box for me.
After modifying /etc/rancher/k3s/config.yaml on each node to point to the server IP, they joined the cluster:
```/etc/rancher/k3s/config.yaml
server: https://cnat:6443
token:
This finally resulted in a working cluster:

```text
NAME   STATUS   ROLES                       AGE     VERSION
cnat   Ready    control-plane,etcd,master   27m     v1.33.5+k3s1
p1     Ready    <none>                      8m29s   v1.33.5+k3s1
p2     Ready    <none>                      3m2s    v1.33.5+k3s1
p3     Ready    <none>                      68s     v1.33.5+k3s1
p4     Ready    <none>                      7s      v1.33.5+k3s1
Grab your kubeconfig from the host (for further use):
kubectl config view --raw
First Deployments
With a working cluster, the first goal is to confirm the scheduler distributes workloads across all four worker nodes and that pods can communicate through a Service.
Labelling the Worker Nodes
K3s does not taint the control-plane node by default, so the scheduler will happily place pods on cnat alongside your workloads.
Label the four worker nodes before deploying anything so you can target them explicitly:
kubectl label nodes p1 p2 p3 p4 node-role.kubernetes.io/worker=true
Verify the labels are in place:
kubectl get nodes --show-labels
Hostname Echo Server
The following manifest deploys four replicas of a minimal Python HTTP server.
Each replica reports the pod name and the Kubernetes node it is running on.
The nodeSelector restricts scheduling to the worker nodes, and the topologySpreadConstraint ensures exactly one replica lands per node.
Save it as hostname-echo.yaml:
apiVersion: apps/v1
kind: Deployment
metadata:
  name: hostname-echo
spec:
  replicas: 4
  selector:
    matchLabels:
      app: hostname-echo
  template:
    metadata:
      labels:
        app: hostname-echo
    spec:
      nodeSelector:
        node-role.kubernetes.io/worker: "true"
      topologySpreadConstraints:
      - maxSkew: 1
        topologyKey: kubernetes.io/hostname
        whenUnsatisfiable: DoNotSchedule
        labelSelector:
          matchLabels:
            app: hostname-echo
      containers:
      - name: echo
        image: python:3-slim
        command:
        - python3
        - -c
        - |
          import http.server, os, socket
          class Handler(http.server.BaseHTTPRequestHandler):
              def do_GET(self):
                  body = f"pod={socket.gethostname()} node={os.environ['NODE_NAME']}\n".encode()
                  self.send_response(200)
                  self.send_header("Content-Length", len(body))
                  self.end_headers()
                  self.wfile.write(body)
              def log_message(self, *a): pass
          http.server.HTTPServer(("", 8080), Handler).serve_forever()
        env:
        - name: NODE_NAME
          valueFrom:
            fieldRef:
              fieldPath: spec.nodeName
        ports:
        - containerPort: 8080
---
apiVersion: v1
kind: Service
metadata:
  name: hostname-echo
spec:
  selector:
    app: hostname-echo
  ports:
  - port: 80
    targetPort: 8080
  type: NodePort
Apply it and watch the pods come up:
kubectl apply -f hostname-echo.yaml
kubectl get pods -o wide --watch
The -o wide column shows which node each pod landed on.
With the nodeSelector and spread constraint combined, each Pi Zero carries exactly one replica and cnat is never considered:
NAME                             READY   STATUS    RESTARTS   AGE   IP           NODE   NOMINATED NODE   READINESS GATES
hostname-echo-7869686674-6dk8k   1/1     Running   0          10m   10.42.3.13   p3     <none>           <none>
hostname-echo-7869686674-ltmtn   1/1     Running   0          62m   10.42.1.35   p2     <none>           <none>
hostname-echo-7869686674-n2vmb   1/1     Running   0          10m   10.42.4.16   p4     <none>           <none>
hostname-echo-7869686674-s99dk   1/1     Running   0          62m   10.42.1.34   p1     <none>           <none>
Verifying the Service
Spin up a throwaway curl pod inside the cluster and send eight requests to the Service DNS name:
kubectl run -it --rm curl --image=curlimages/curl --restart=Never -- \
  sh -c 'for i in $(seq 1 8); do curl -s http://hostname-echo; done'
This is a better test than kubectl port-forward because it exercises the Service's in-cluster load balancing rather than routing through the API server.
K3s uses iptables-based random selection, so the distribution will not be a perfect round-robin — expect something like this:
pod=hostname-echo-7869686674-ltmtn node=p1
pod=hostname-echo-7869686674-6dk8k node=p3
pod=hostname-echo-7869686674-ltmtn node=p1
pod=hostname-echo-7869686674-ltmtn node=p1
pod=hostname-echo-7869686674-6dk8k node=p3
pod=hostname-echo-7869686674-6dk8k node=p3
pod=hostname-echo-7869686674-n2vmb node=p4
pod=hostname-echo-7869686674-n2vmb node=p4
All worker nodes with a running pod will appear in the output.
If a node is absent, check the pod status with kubectl get pods -o wide and inspect it with kubectl describe pod <name>.
Reading Node Temperature via DaemonSet
The Pi SoC temperature is available at /sys/class/thermal/thermal_zone0/temp on each node.
A DaemonSet can read it by mounting the host /sys filesystem as a read-only volume — no privileged mode required.
Save it as node-temp.yaml:
apiVersion: apps/v1
kind: DaemonSet
metadata:
  name: node-temp
spec:
  selector:
    matchLabels:
      app: node-temp
  template:
    metadata:
      labels:
        app: node-temp
    spec:
      containers:
      - name: temp
        image: alpine:3
        command:
        - sh
        - -c
        - |
          while true; do
            raw=$(cat /host-sys/class/thermal/thermal_zone0/temp)
            printf "%s: %s°C\n" "$(hostname)" "$((raw / 1000))"
            sleep 30
          done
        volumeMounts:
        - name: sys
          mountPath: /host-sys
          readOnly: true
      volumes:
      - name: sys
        hostPath:
          path: /sys
Apply it and stream the temperature readings from all nodes at once:
kubectl apply -f node-temp.yaml
kubectl logs -l app=node-temp --prefix -f
Sample output after a few minutes of idle load:
[pod/node-temp-wt42b/temp] node-temp-wt42b: 84°C
[pod/node-temp-s9jl5/temp] node-temp-s9jl5: 83°C
[pod/node-temp-vkf8j/temp] node-temp-vkf8j: 75°C
[pod/node-temp-wt42b/temp] node-temp-wt42b: 84°C
[pod/node-temp-kqpnz/temp] node-temp-kqpnz: 77°C
The Pi Zero 2 W run hot, needs urgent investigation I guess...
Troubleshooting
Check SoC temperature directly on the host without Kubernetes:
vcgencmd measure_temp
Wrapping Up
A gadget that sat in a box for years turned into a fully functional K3s cluster in a single weekend™️. The gap between "cool gift" and "useful homelab node" turns out to be four Pi Zero 2 W boards, a few prompts and an afternoon to spare. Grab a ClusterHAT and try it yourself! Thanks guys...that was heck of a fun and cool to see it finally materialised. 🤪
Note: Parts of the code and scripts were developed with the assistance of AI tools. All generated code has been reviewed and curated by the writer.