In this post we’ll look beyond Getting Started with Web Application Development for eXist - “Open Source Native XML Database”.
We assume you followed the steps described in the “Starting a New Application” section of the Getting Started mentioned above.
Tip: In the post eXist - Kick-start Development with Docker we describe how to install eXist in a non-invasive way.
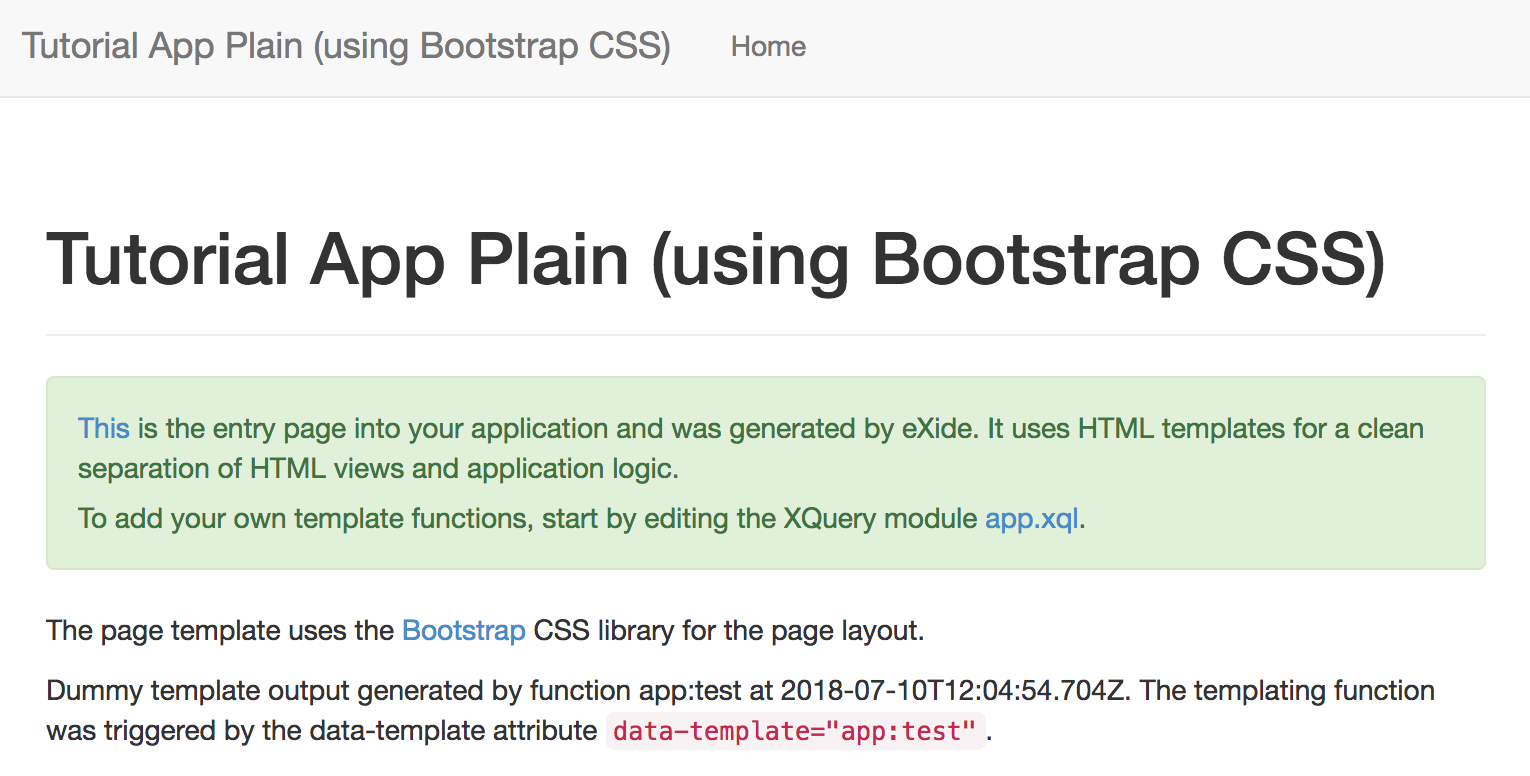
Either way your first eXist application should be available here and look similar to:
The eXide is capable of exporting the source of the tutorial app.
A quick glimpse into the build instructions that are generated reveals an Ant based build setup. While there is nothing wrong with Ant we recently started to migrate all of our builds to Gradle.
Lucky me there is an easy way forward - Using Ant from Gradle.
Since we already have a working Ant build we can go straight to the section “Importing an Ant build”.
A simple one-liner is enough. Cool!
ant.importBuild 'build.xml'
Tip: Add a specific version and distribution type of the Gradle Wrapper to your project with
gradle wrapper --gradle-version=4.8.1 --distribution-type=bin- this will bring your colleagues (and build agents) up to speed faster.
Let’s package our tutorial application into a xar file with Gradle:
$ ./gradlew xar

BUILD SUCCESSFUL in 0s
1 actionable task: 1 executed
That was amazingly fast!
Let’s take this one step further with a Jenkinsfile.
pipeline {

    agent {
        docker {
            image  '8u171-jdk-alpine3.7'
        }
    }

    stage ('build') {
        steps {
            sh "./gradlew xar”
        }
    }
}
Setting up a Jenkins build will be a simple Pipeline job.
Congratulations!
You've just created a continuous build pipeline for your eXist application.
In a future post, we'll look into automagically deploying the app to a staging server.
Stay tuned...