This post provides a walk-through (and a convenient Postman collection) of the basic interaction described in the official Get Started guide.
First Contact (to the Hue Bridge)
Like the Get Started guide we skip the unboxing plus first steps and assume you already have a basic set up and that you can control at least on light from your smartphone.
We chose Step 2 - second option: Use the Philips broker server discovery process by visiting https://discovery.meethue.com/.
[{"id":"coffeebabe202005,"internalipaddress":"192.168.1.121"}]
Straight to Step 3 the first interactive part - playing with the test app and send our first clip command.
Despite being not (yet) authorized we get a 200 with the body explaining the issue
[
  {
    "error":{
      "type":1,
      "address":"/",
      "description":"unauthorized user"
    }
  }
]
Tip: Grab our Postman collection/environment.
Note: You’ll have to change the
baseUrlto match your local setup.
Setup the Hue Bridge
To properly talk with the bridge we create a new user with a POST request to the /api endpoint.
{
  "devicetype":"jenkins#buildserver",
  "Generateclientkey":true
}
Note: You’ll need to press the “link button” to authorize this request.
With the * link button pressed* you should get a response like follows:
[
  {
    "success": {
      "username": "EMyour usernameBi",
      "clientkey": "75your clientkey15"
    }
  }
]
There Shall Be Light (bonus)
To work with the first light in our Hue-niverse we prepare two environment variables in our Postman setup and fiddle with the endpoint {{baseUrl}}/api/{{username}}/lights/1.
baseurl- the IP of you Hue Bridgeusername- the previously generated username
Use the state endpoint {{baseUrl}}/api/{{username}}/lights/1/state to GET method to get information about the first light and PUT to put a new state onto bulb 1.
The getting started guide shows examples with the following properties in the body of the request:
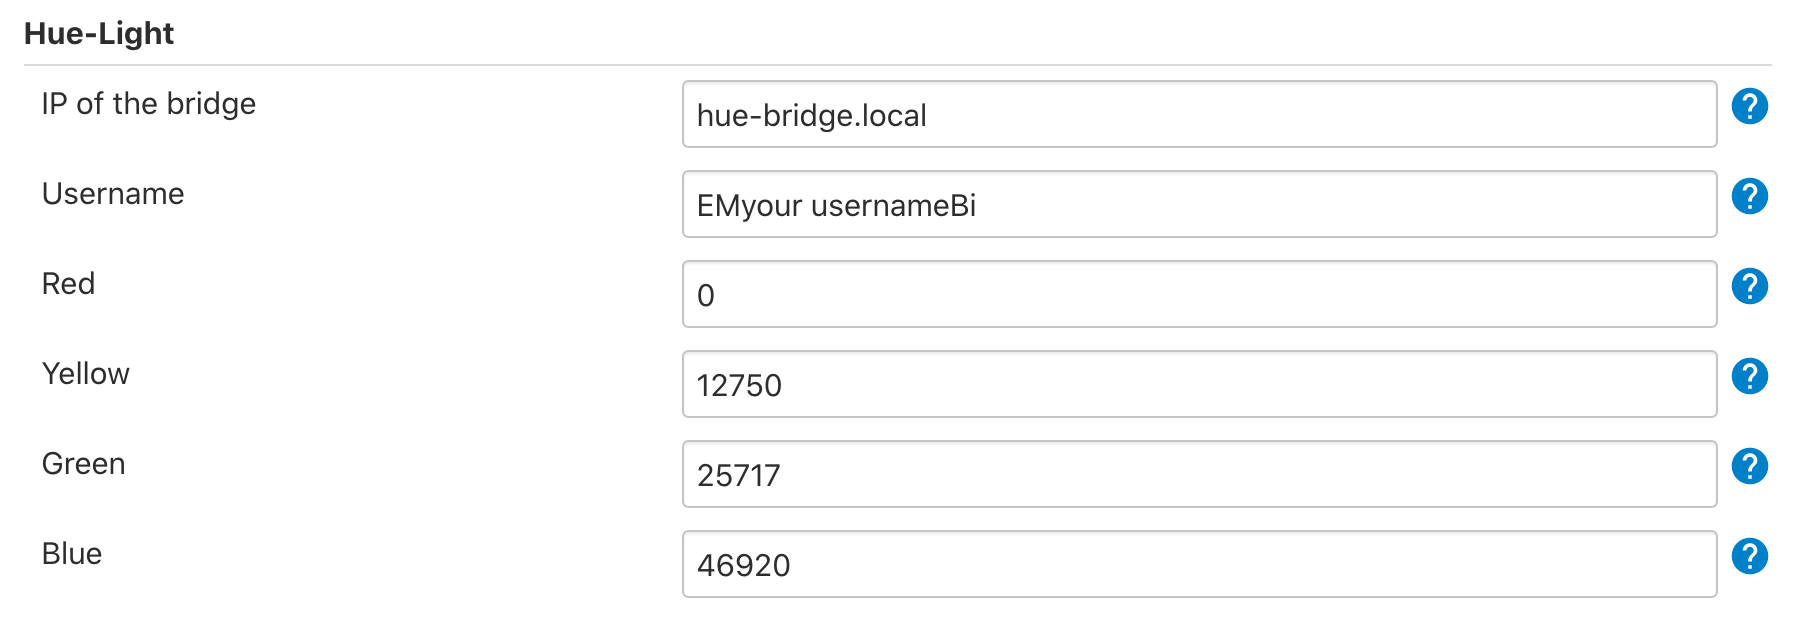
on- booleantrue/falsesat- saturation with 0 (white) to 254 (colored)bri- brightness with possible values between1-254hue- hue of the light 0 (red) / 21845 (green) and 43690 (blue).
Please check the Lights API for more details and cool options like alert and effect.
Note: You’ll need to log in to view the version of the API online
Jenkins setup
Either manually install the hue-light plugin or add it to your plugins.txt if you have a Docker-based setup.
hue-light:1.2.0
Configure the Hue Bridge IP in Jenkins > Manage Jenkins > Configure System
Let’s create a simple ping job with a single Execute shell build step:
echo checking DevOps blog...
sleep 1
curl -sSf https://devops.datenkollektiv.de | grep "devops blog" || exit 1
Configure Build Job
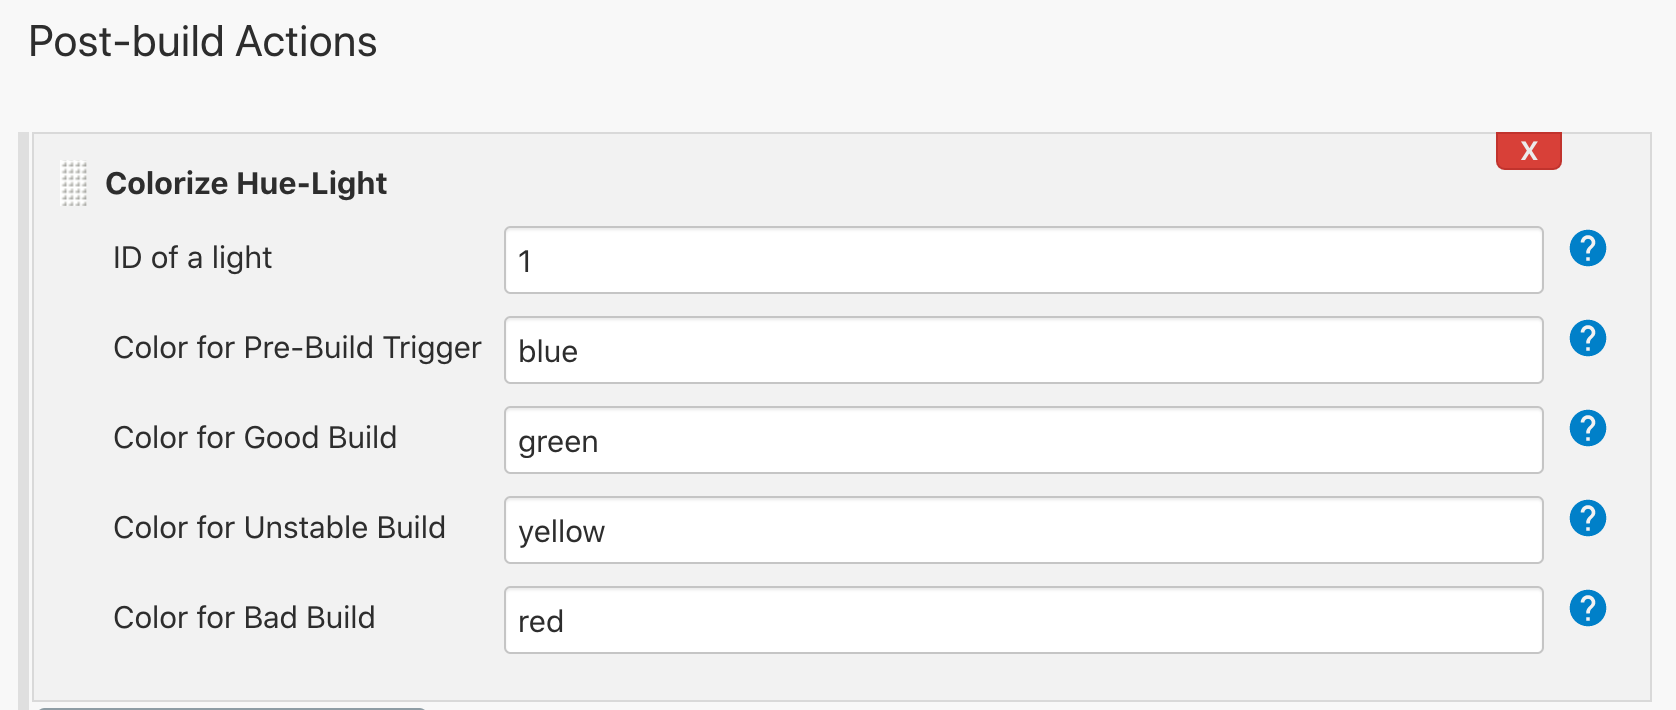
Trigger a build and - 🎉
The Hue Bulb switches to blue for a second, then switches to green.
A quick glimpse into the build logs:
Started by user admin
Running as SYSTEM
…
hue-light: set breathe color of light 1 (Hue bulb) to Build Starting (46920)
[homepage check] $ /bin/sh -xe /Users/…/temp/jenkins1955518880558392976.sh
+ echo checking DevOps blog homepage...
checking DevOps blog homepage...
+ sleep 1
+ curl -sSf https://devops.datenkollektiv.de
+ grep 'devops blog'
  <title>{devops blog}</title>
…
hue-light: set color of light 1 (Hue bulb) to Good Build (25717)
Finished: SUCCESS
The devops blog is currently online! Hooray!
Next steps
If you are hooked, you might want to register and create a Hue developer account to take a closer look at the Hue API.
Have fun exploring the possibilities of the Hue-niverse - 💡
Photo by Júnior Ferreira